
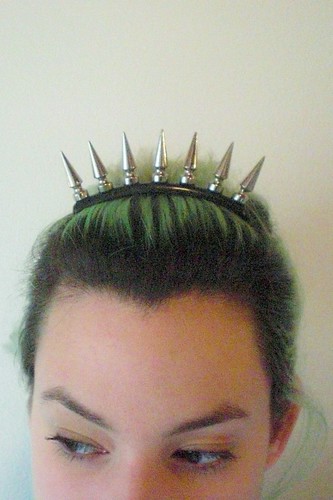
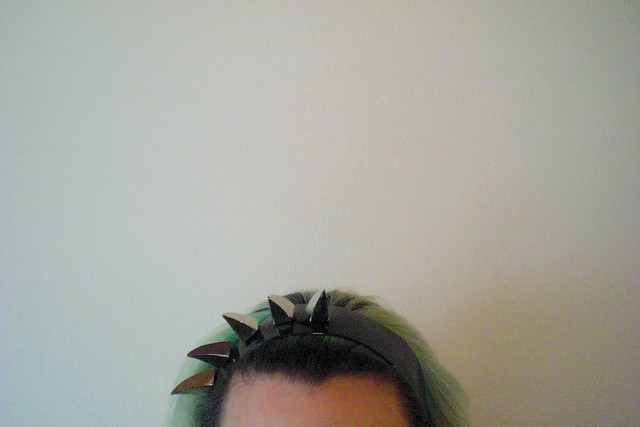
I've been loving all of these spiked hair accessories that I've been seeing around lately (this Solene Lord of War comb by Maison Michel is particularly transcendent) and really wanted to make a few variations of my own.
 |  |
 |  |
 |  |
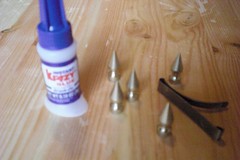
The spiked hair combs and barrettes are pretty simple to make and just take some super glue and a little patience. The headband project requires a little more elbow grease but I think the result is well worth the trouble.
 |  |
For the comb/barrette:
plastic or metal comb/barrette
liquid super glue
ruler (optional)
For the headband:
flexible rubber or plastic headband
awl
drafting pencil (optional)
ruler (optional)
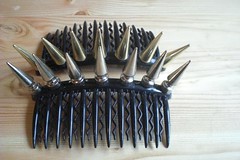
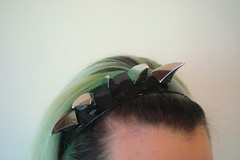
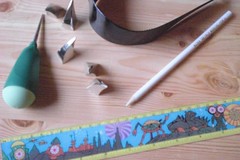
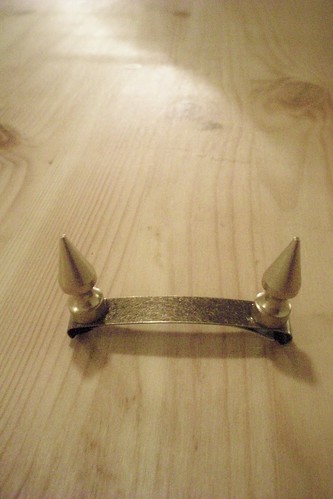
Spiked Comb/Barrette
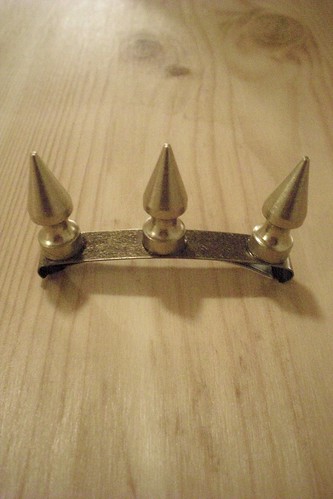
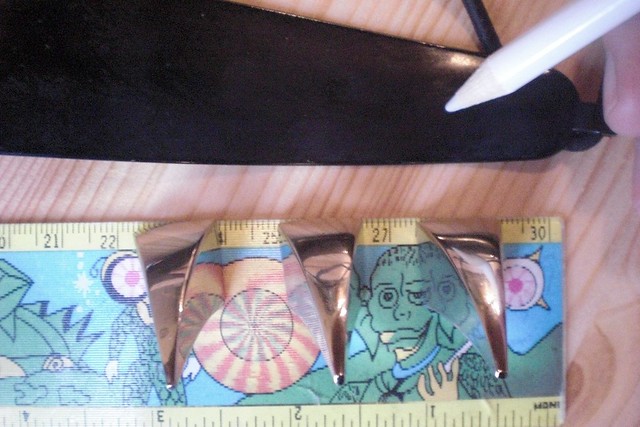
Line up your spikes next to the comb or barrette to figure out how you want them spaced and how many spikes you will need. You can use a ruler to evenly space them if you like. Make sure the area you are gluing the spikes to on your comb/barrette is as large as or larger than the base of your spikes. If the spike isn't completely anchored to the surface, it could pop off after the glue dries.
 |  |
 | 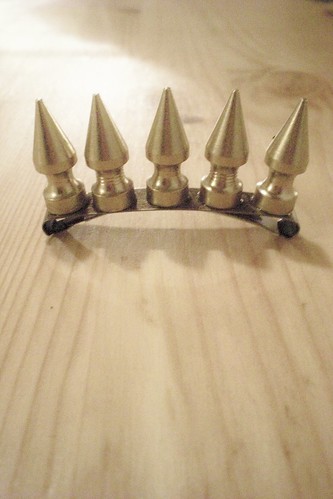 |
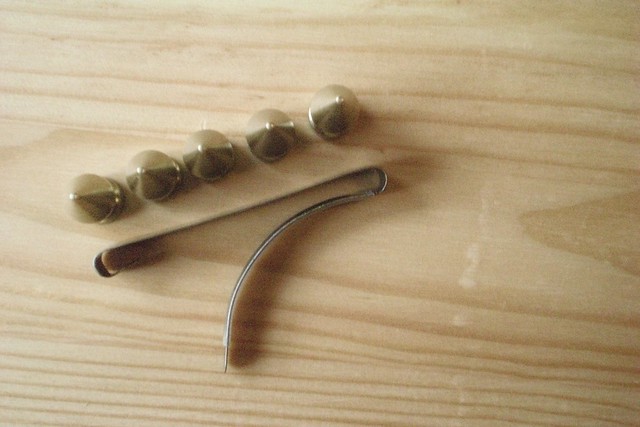
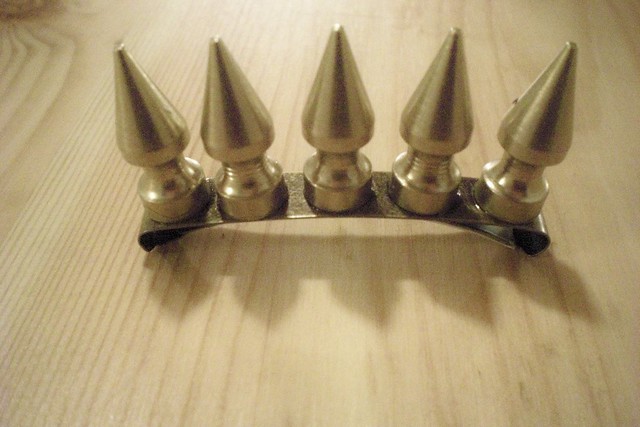
After your spikes are firmly in place, you can go back and add a little extra glue in any gaps between the spikes and the comb/barrette. Be sure to let your piece dry for a few hours before you start to play with it in you hair. Once it's completely dried, you can scratch off any glue mess that may be left behind on the surface.
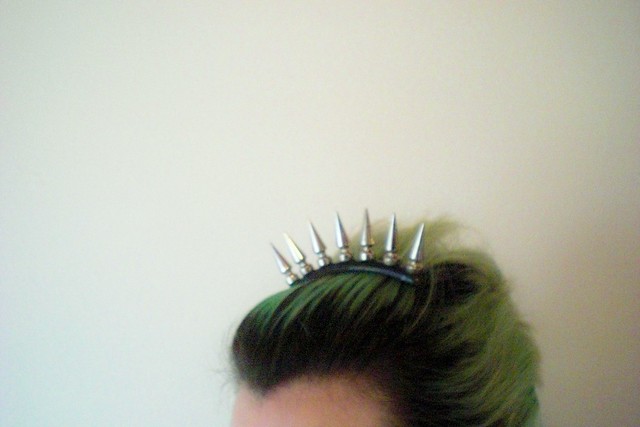
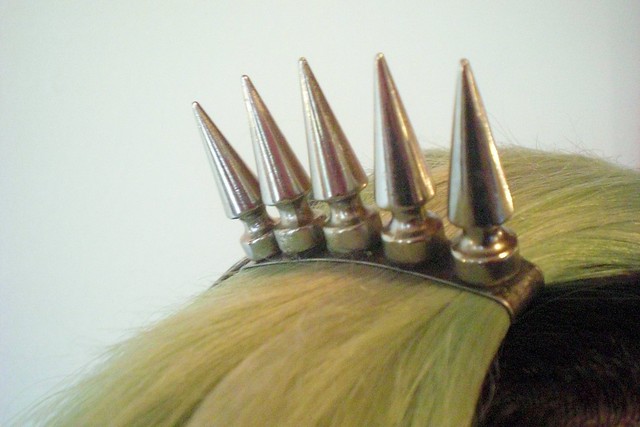
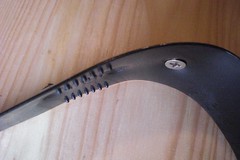
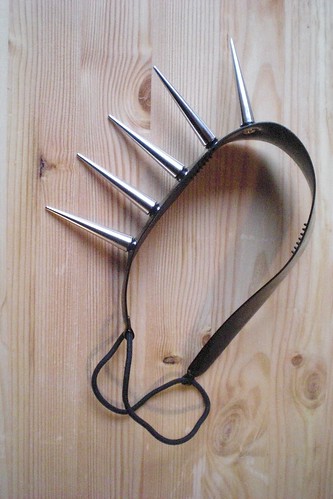
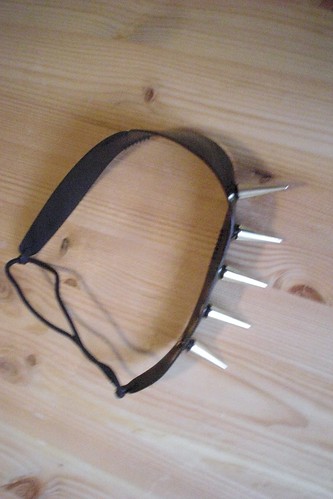
Spiked Headband
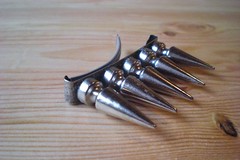
Set out your spikes next to your headband in a pattern you like. For this project, you'll need spikes that are made to be attached with screws.
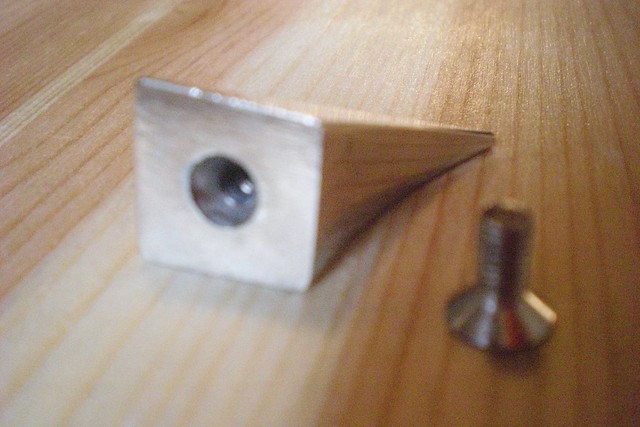
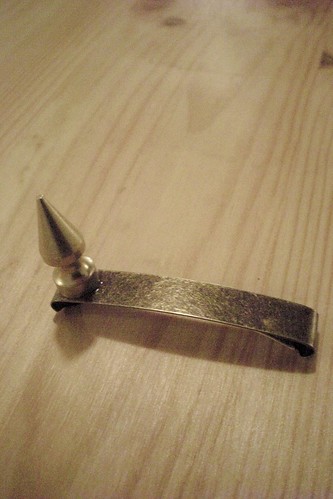
A screw-back spike
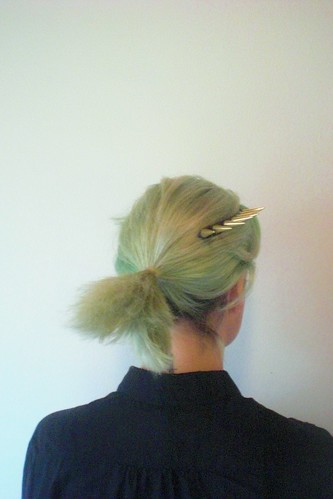
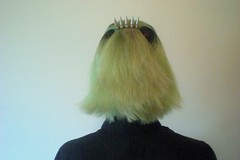
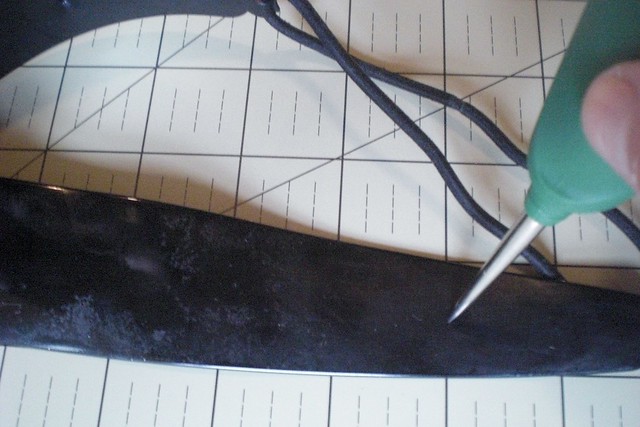
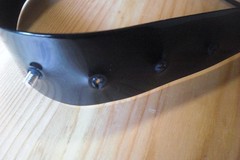
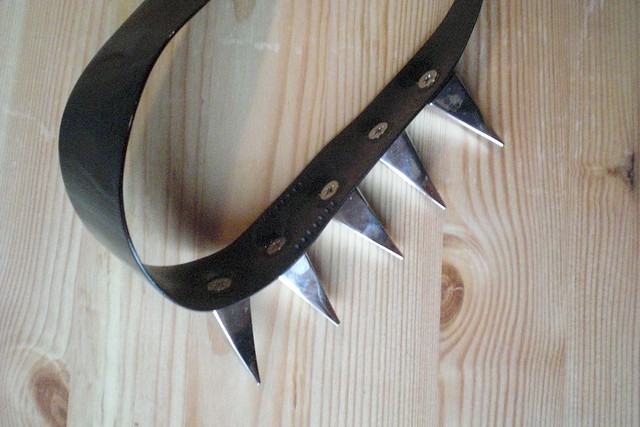
I chose to only put spikes on the side half of my headband but you could also have spikes all the way around or just in the middle. I just eyeballed where to put my spikes but if you prefer, use a ruler to space the spikes evenly and mark where you want to place them with a contrasting drafting pencil or with a small indentation from the awl.
 |  |
 |  |
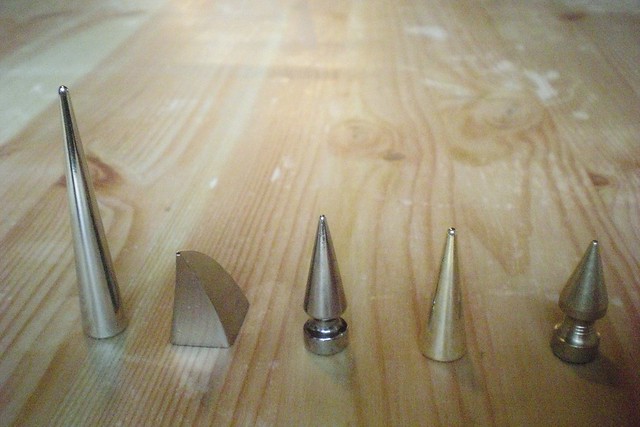
I got all my spikes from Studs and Spikes. Here are the types I used in these projects.
 |  |
-W


Hi,
ReplyDeleteI've been looking for this large dragon claw spikes for a while so thanks for the tip, great DIY btw.
Please visit my fashion blog Pretty Portobello
See you soon.
Love the hair accessory, would love to see this combined with a 'fascinator' look, maybe like a Gothic Lolita with spines. :D
ReplyDelete